


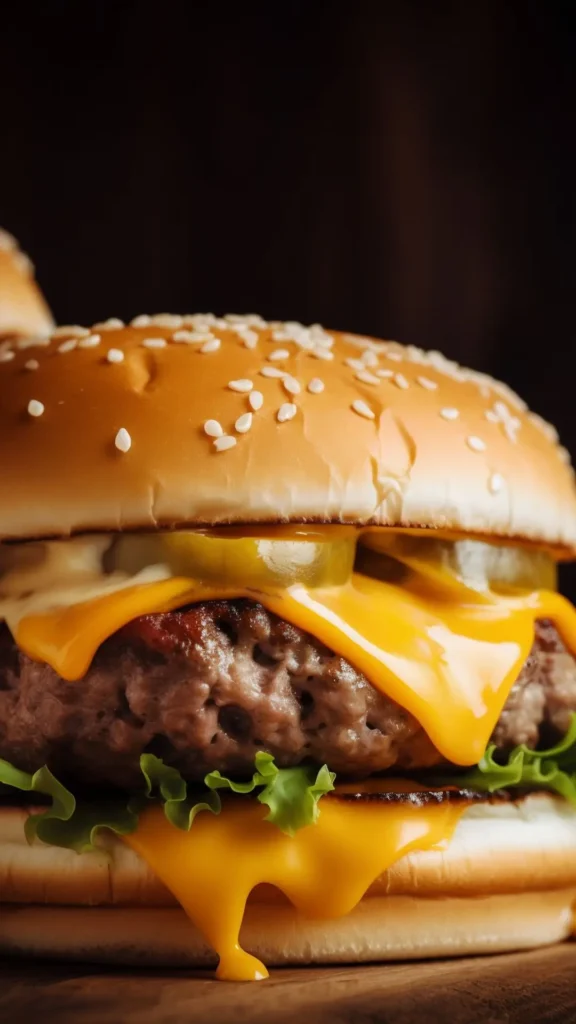
Calling all comfort-food lovers! If you’ve ever dreamed of sinking your teeth into a perfectly seasoned patty smothered in ooey‑gooey melted cheese, you’re in for a real treat. I’m Rachel—a busy mom and home‑kitchen enthusiast—and I’m sharing my foolproof method for crafting the ultimate Burger with Melted Cheese Recipe right in your own kitchen.
From patty prep to cheese‑melting magic, I’ve got the step‑by‑step guide and insider tips you need. Ready for melty, mouthwatering perfection? Read the full article and let’s get cooking!
Ingredients
- Ground beef (80/20 mix is ideal for juicy burgers)
- Salt and pepper (season to taste)
- Cheese slices (e.g. American, sharp cheddar, or your choice)
- Burger buns
- Buns toppings (lettuce, tomato, onion, pickles) – prepare as desired
- Condiments (ketchup, mustard, mayo, etc.)
- Butter (for toasting buns, optional)
(You can also get creative here: smoked gouda, Swiss or pepper jack work well too. Food & Wine notes that “smoked Gouda is delicious on burgers with barbecue sauce”. If you prefer a lighter approach, pair this hearty burger with a side of fruit and a healthy breakfast the next morning – see “10 Super Easy Healthy Breakfast Ideas” for quick-make options.)
Step By Step Instructions For Burger with Melted Cheese Recipe
Step 1 – Preheat and season: Heat a grill or skillet over medium-high heat. Divide the ground beef into equal portions (¼–½ pound each) and gently form into patties about ¾–1 inch thick, making a slight indentation in the center of each (this helps them cook evenly). Just before cooking, season both sides of each patty generously with salt and pepper. (Tip: salting right before cooking helps the meat retain more moisture.)
Step 2 – Cook the patties: Place the patties on the hot grill or pan. Cook for 3–4 minutes on the first side without moving them, until a browned crust forms. Flip the burgers and continue cooking the other side for another 2–3 minutes. For even cooking, aim for the burgers to be just shy of your desired doneness before adding cheese (medium or medium-well is common).
Step 3 – Add cheese and melt: As soon as you flip the burgers for the last time, place a slice of cheese on top of each patty. Immediately cover the grill or pan (with a lid or foil tent) for about 30–60 seconds. This traps steam and lets the cheese melt into a “gooey” coating on the beef. (Alternatively, you can place a metal dome or inverted bowl over the burgers to create a little steaming chamber.) Remove the cover once the cheese is fully melted and bubbling.
Step 4 – Toast the buns (optional): While the cheese is melting, you can toast the burger buns. Spread a little butter on the cut sides and place them face-down on the grill or in a skillet for 20–30 seconds until golden. This adds flavor and helps prevent soggy buns.
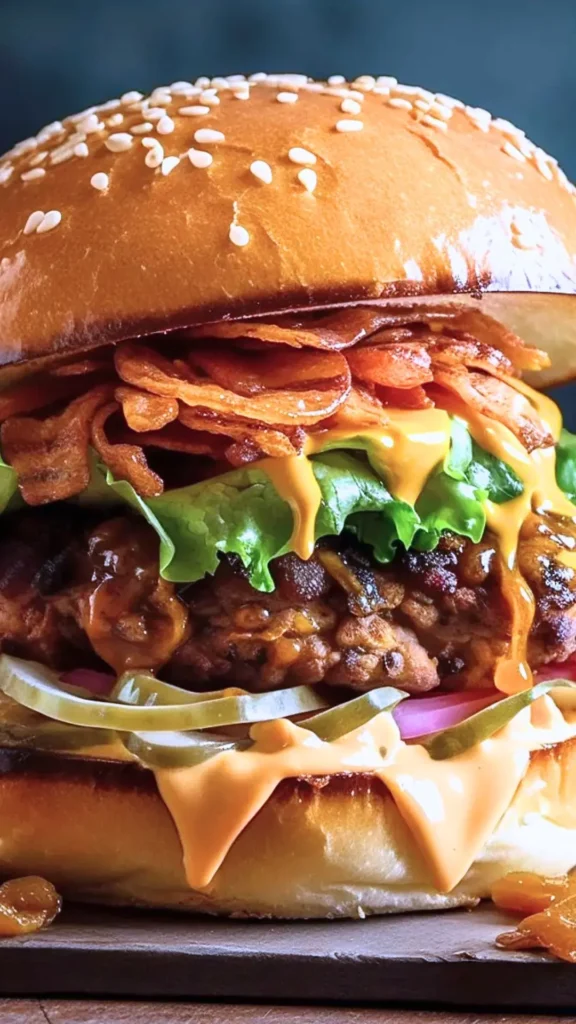
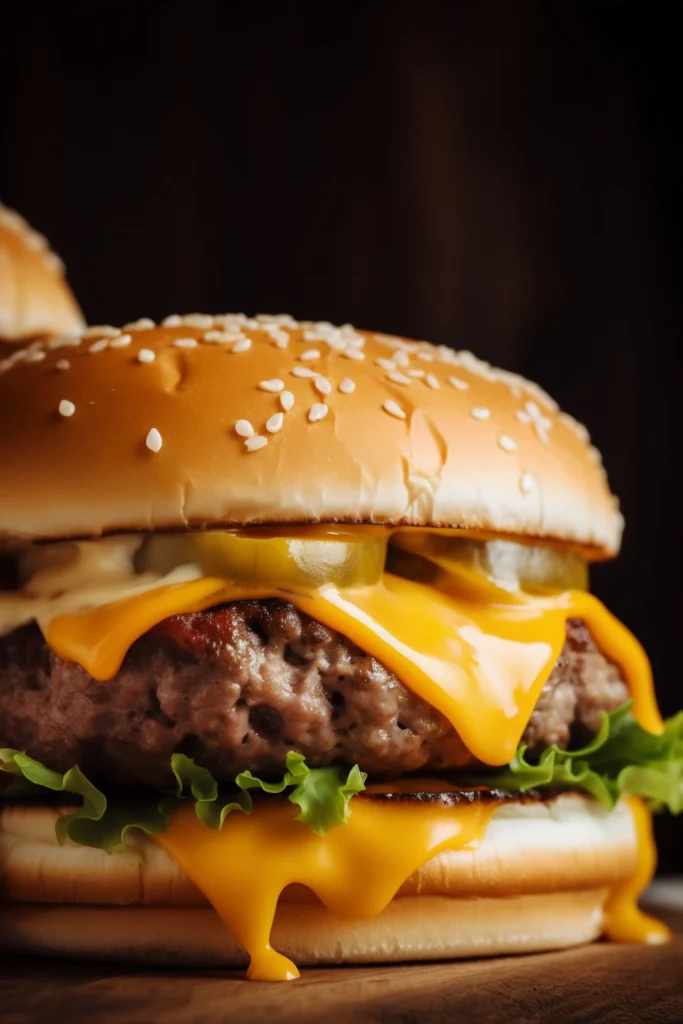
Step 5 – Assemble the burgers: Transfer each cheesy patty to a bun. Add your favorite toppings: crisp lettuce, tomato slices, onion rings or pickles. Finish with condiments like ketchup, mustard or mayonnaise. The melted cheese will be warm and stretchy over the meat, making each bite creamy.
Serve with classic sides: Cheeseburgers are often served with traditional sides – think crispy french fries, onion rings, coleslaw or potato salad. For example, Spruce Eats notes that “the cheeseburger is the main event,” and typical pairings include fries, rings, potato salad or slaw. You can also serve a green salad or veggies if you prefer a lighter meal.
More Tips and Variations In For Burger with Melted Cheese Recipe
- Cheese choices: American and mild cheddar melt quickly into smooth goo, while sharper, aged cheeses (like aged cheddar or Swiss) add bold flavor. As one experiment showed, Brie topped the meltability charts, but any high-moisture cheese (like young mozzarella or Monterey Jack) will give a nice stretchy melt. Place cheese on immediately after flipping so it doesn’t overcook.
- Seasoning and mix-ins: For extra flavor, you can finely chop and mix a small amount of onion, garlic or herbs (e.g. chives) into the beef before forming patties. Keep the mix gentle to avoid overworking the meat.
- Melt enhancement: Covering the burger as it cooks (step 3) is key to a perfect melt. The trapped steam helps even soft cheeses meld into the beef. Some cooks even add a teaspoon of water to the pan when covering, creating a steam burst (the cheese will melt in under a minute). If you have a professional “smash burger” dome or cheese steamer, those work great too.
- Doneness: For food safety with beef, cook burgers at least to medium (160°F) or as you prefer. Burger joints commonly serve well-done, but a little pink (medium) is OK if you started with fresh, high-quality meat. (Salmonella risk comes mostly from poultry or eggs, but ground beef should be cooked properly.)
- Alternative proteins: This recipe works with turkey, chicken or plant-based patties too; just adjust cooking time since leaner patties dry out faster. Add cheese when the patty is almost done and cover briefly.
Serving Suggestions (Related Ideas)
Burgers with melted cheese are deliciously indulgent, so you might balance your menu with other recipes. For instance, one busy home cook suggests 10-minute healthy breakfasts to fuel busy mornings – things like oatmeal pancakes, breakfast burritos or smoothies that you could whip up before a big burger dinner. On the appetizer front, crispy bacon-deviled eggs are a tasty party snack that complement burgers well.
One recipe (labeled “Mom’s Bacon Deviled Eggs (Paleo, Whole30, Dairy-Free)”) describes deviled eggs made with Paleo mayo, mustard, chives and crumbled bacon as “so tasty and simple to make,” perfect for gatherings. If you’re hosting a big meal or holiday party, you can also draw inspiration from festive appetizer lists – for example, a blog’s “25 Delicious Thanksgiving Appetizers” suggests easy cold bites (gazpacho shooters, fig & goat cheese crostini, marinated mozzarella balls, dips and skewers) that let you entertain without kitchen stress.
In short, this cheeseburger recipe gives you a melty, satisfying meal with classic flavor. Enjoy building these burgers, and happy cooking!